The Public Site Administration application allows administrators to quickly view, add, edit and delete web site content. The UNOS developers work in the background setting up templates and approving the newly added web site content.
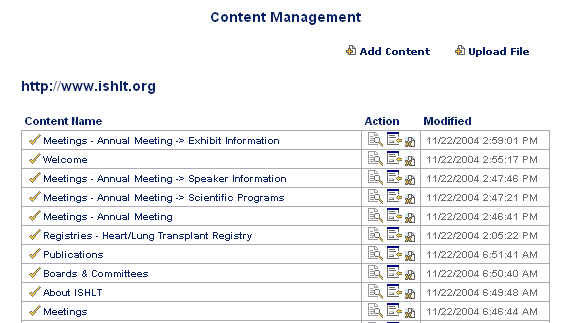
After clicking the Public Site Administration link on the Administration main page, the Content Management page will display a list of content names, available actions and modification dates. Check marks indicate that the web site content has been approved by a developer(s).
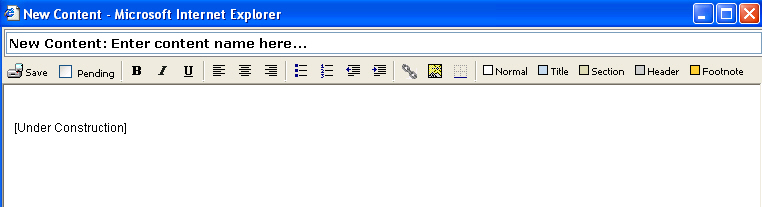
To add new web site content, click the Add Content button. Enter the web content name of your page in the displayed box at the top of the page. Check the Pending box and then click the Save button.
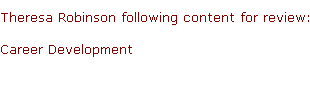
You will be immediately notified via email that your new content will be reviewed for approval by a developer.
Once the content is approved and a template page has been setup by the developers, you will be notified and the content name will be listed when you view the Content Management page.
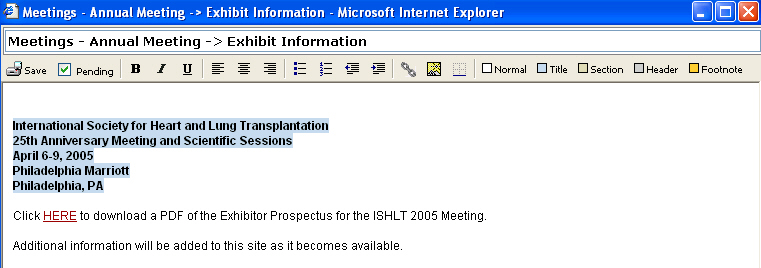
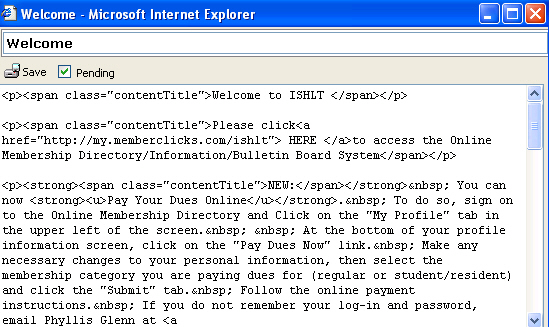
To modify the web site content in text format, click the ![]() button. The web site content page will display. A check mark will display in the Pending box by default indicating that the change you are about to make must be approved. Enter your new data, and then click the Save button.
button. The web site content page will display. A check mark will display in the Pending box by default indicating that the change you are about to make must be approved. Enter your new data, and then click the Save button.
When you return to the Content Management page, a question mark displays next to the content name instead of a check mark, indicating that a modification has occurred and that the updated information is pending approval.

You may also modify the web site content in HTML format, by clicking the ![]() button.
button.
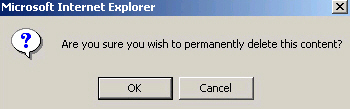
To delete web site content, click the ![]() button. A message will display asking if you wish to permanently delete the content. Select Yes.
button. A message will display asking if you wish to permanently delete the content. Select Yes.
When you return to the Content Management page, the content name will no longer be listed.